
How to Configure OneLogin SSO in a React App
Kushal BaldevApril 25, 2025
Share this article


Single Sign-On (SSO) is a method that allows users to log in to multiple applications and websites using one set of credentials, such as a username and password, instead of having to authenticate separately for each application. In this tutorial, we’ll walk through OneLogin SSO integration React, a common approach for simplifying authentication in modern web apps.
This step-by-step guide focuses on OneLogin SSO integration React developers can follow to set up secure login functionality quickly.
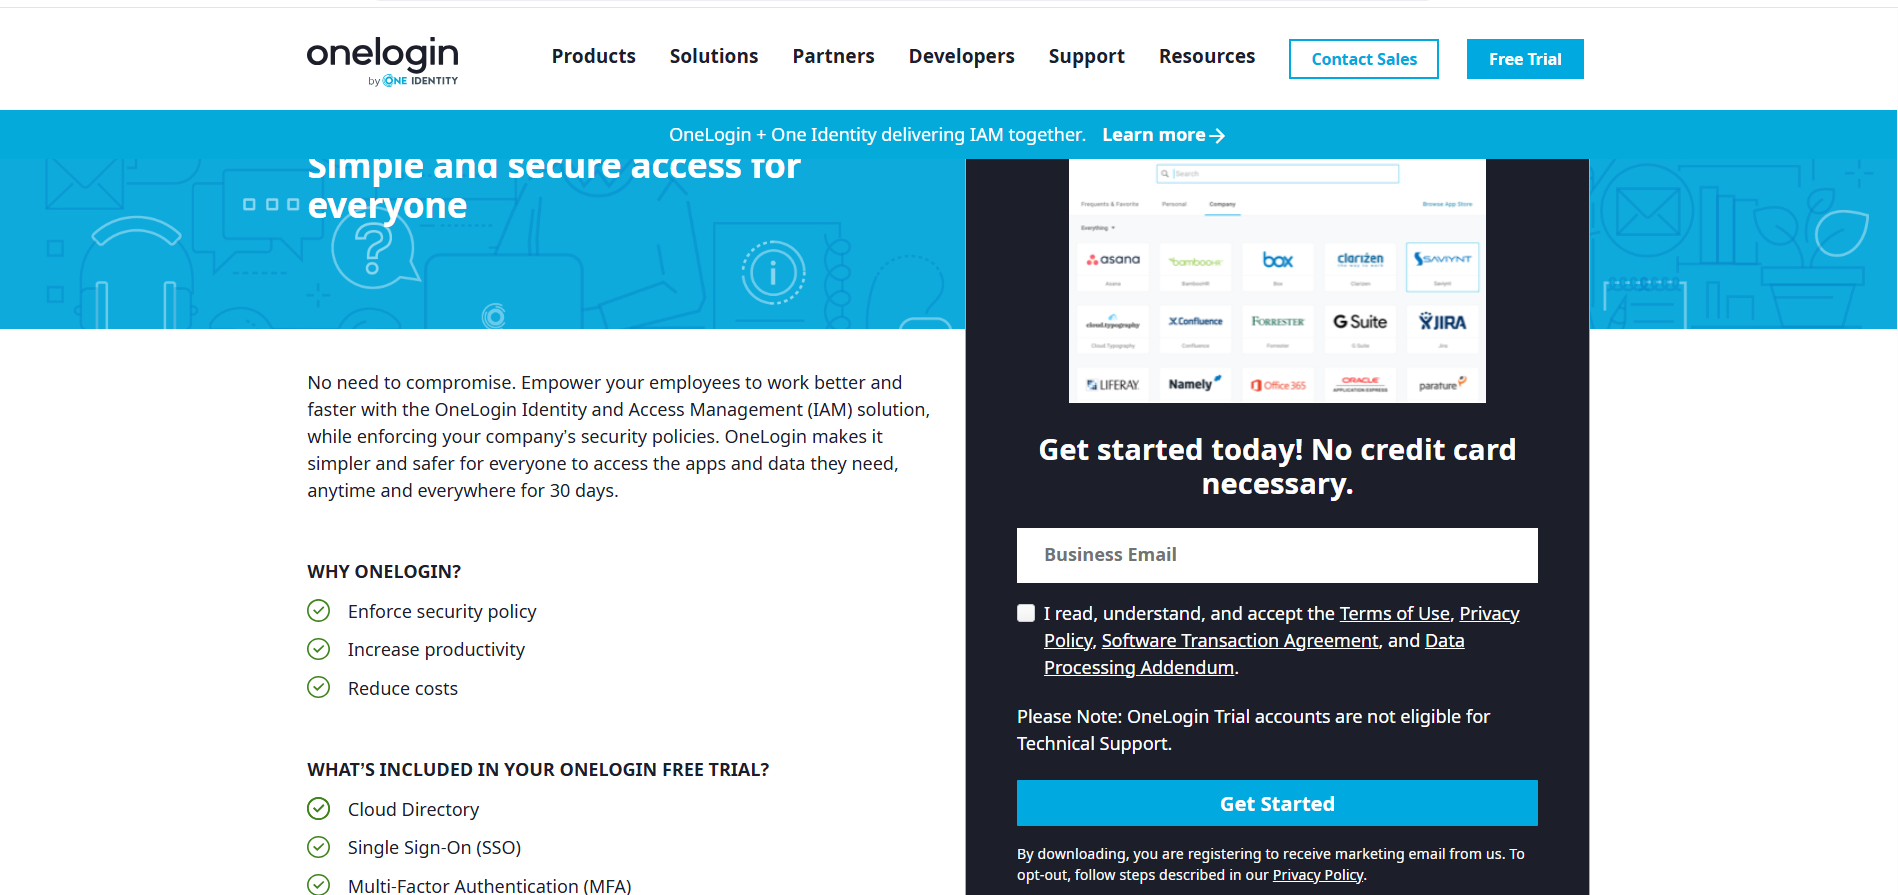
Visit OneLogin to create a free account (Note: You need a business account to register, and the account is valid free for only 30 days as per current website terms). You can also visit the developer site for documentation.
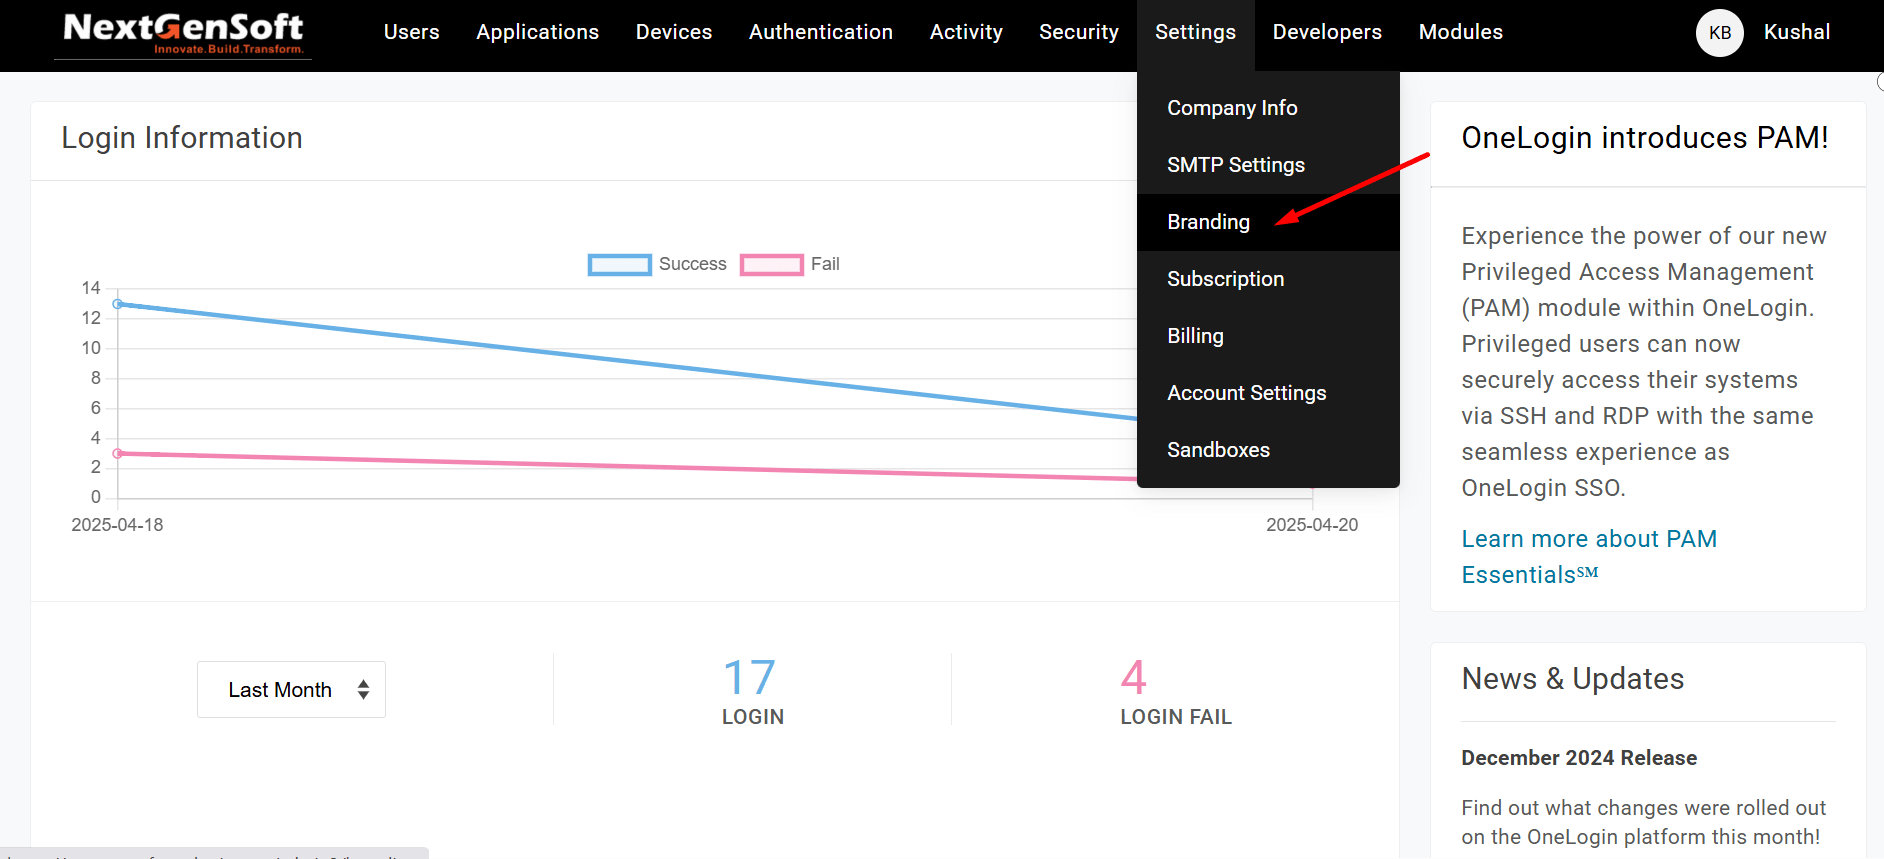
After successful login, click on the Administration tab.

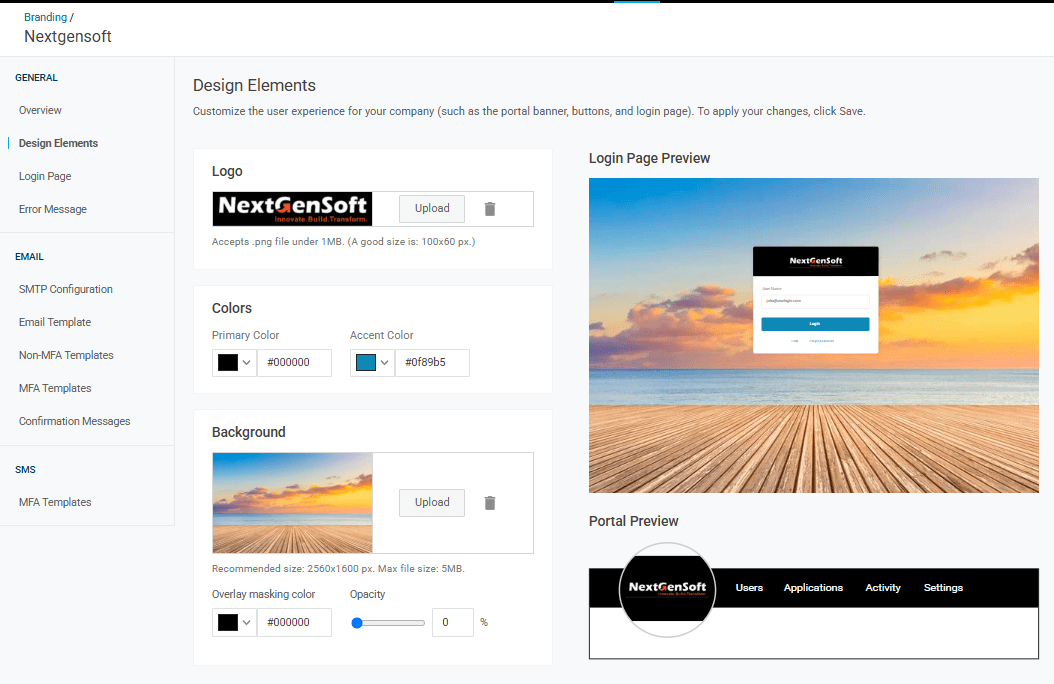
Navigate to Settings → Branding. Under Branding, you can upload your company logo, set a background image or color, and preview the portal view.
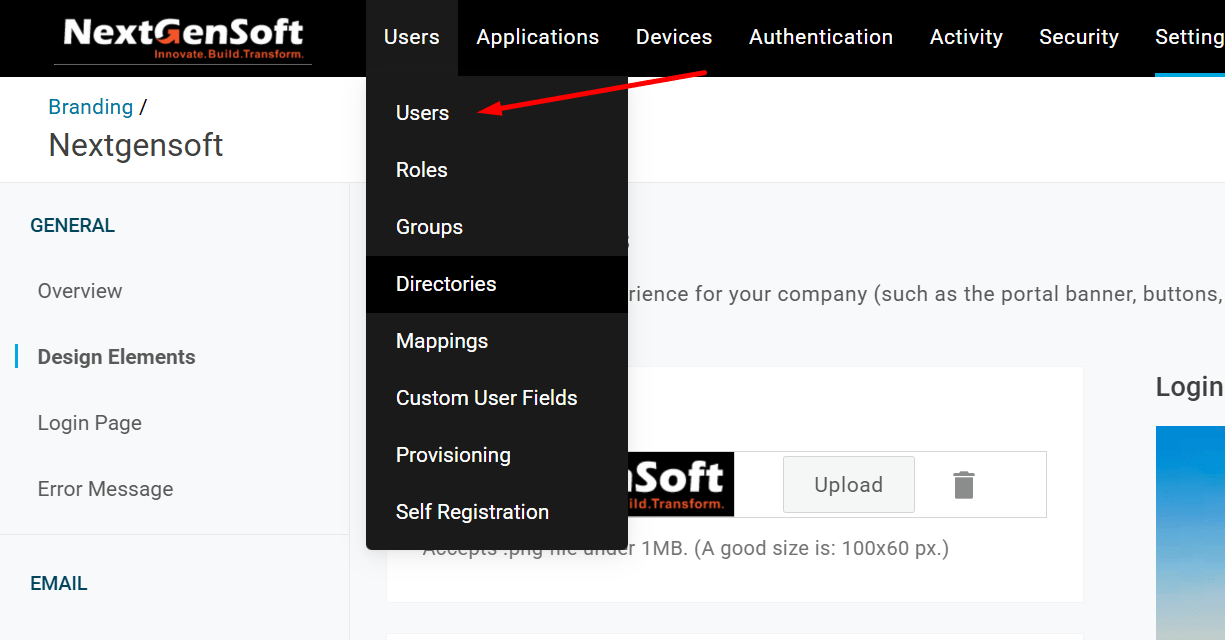
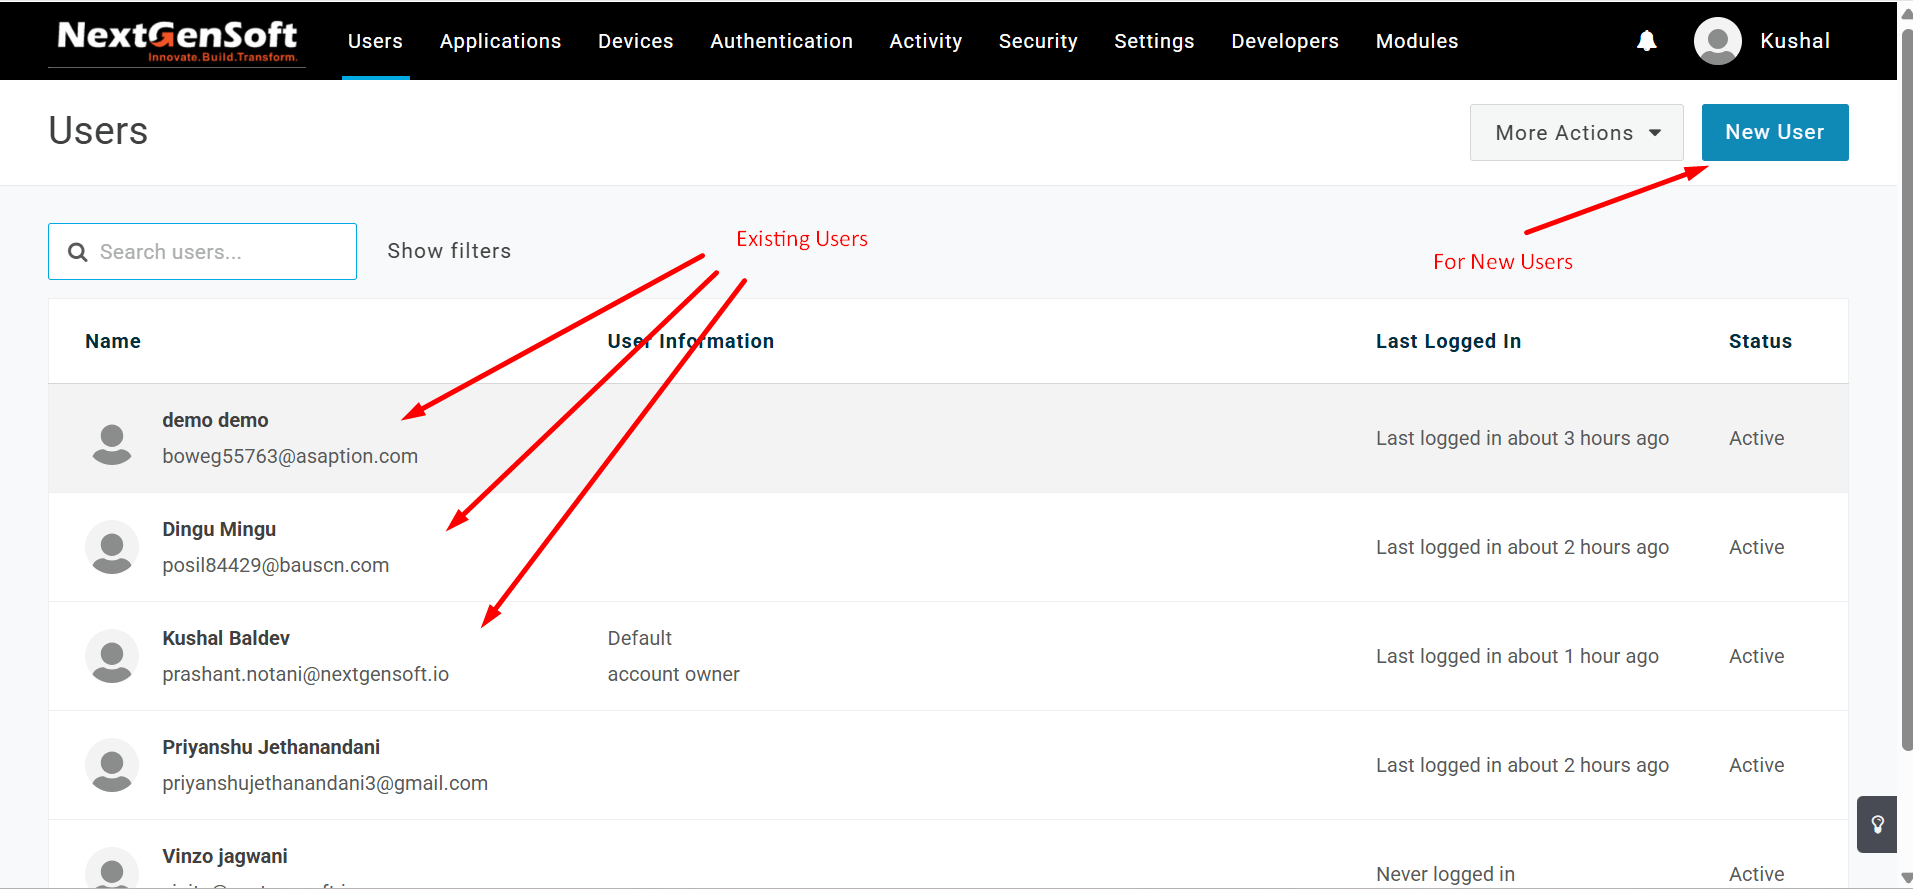
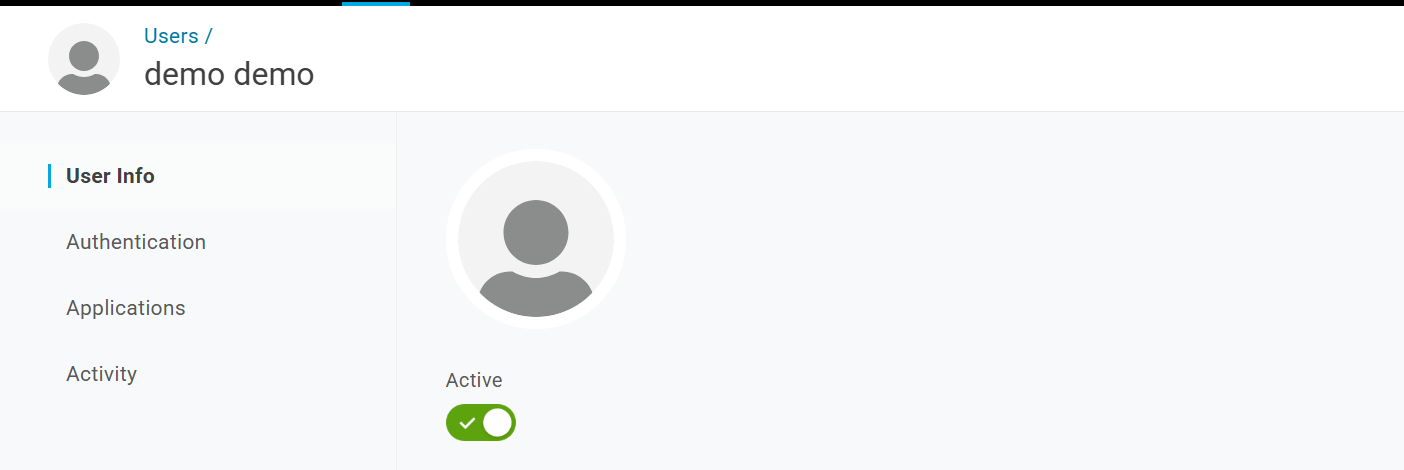
Go to Users → Users to view existing users or create a new one. You can also register users via an OIDC app.
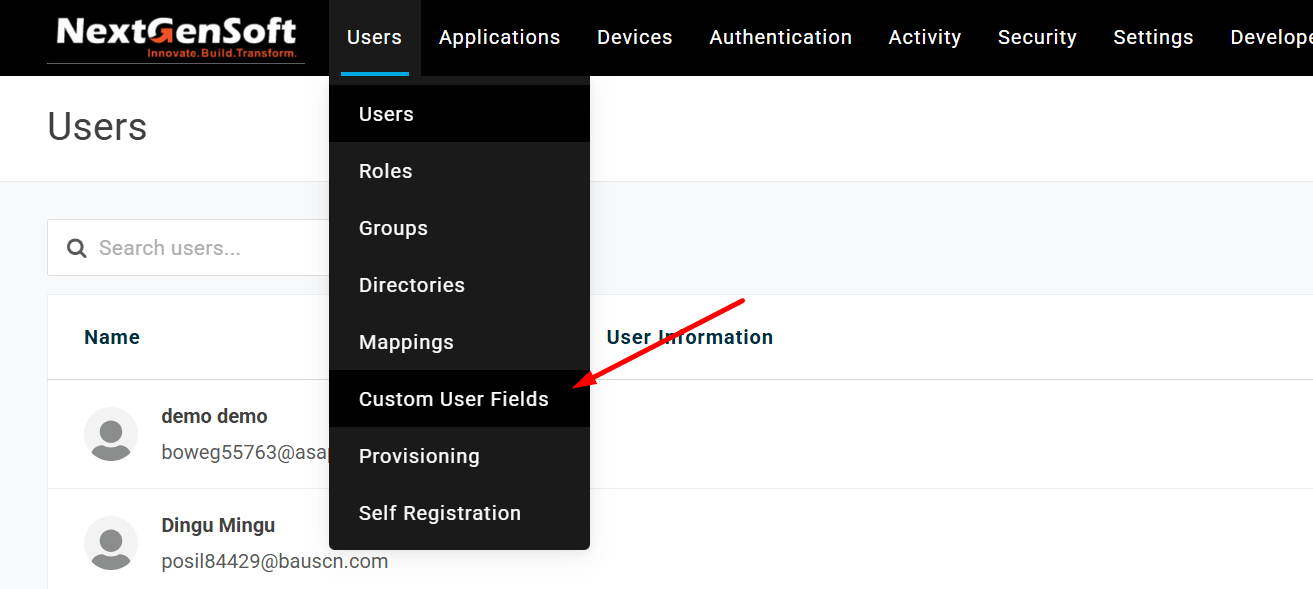
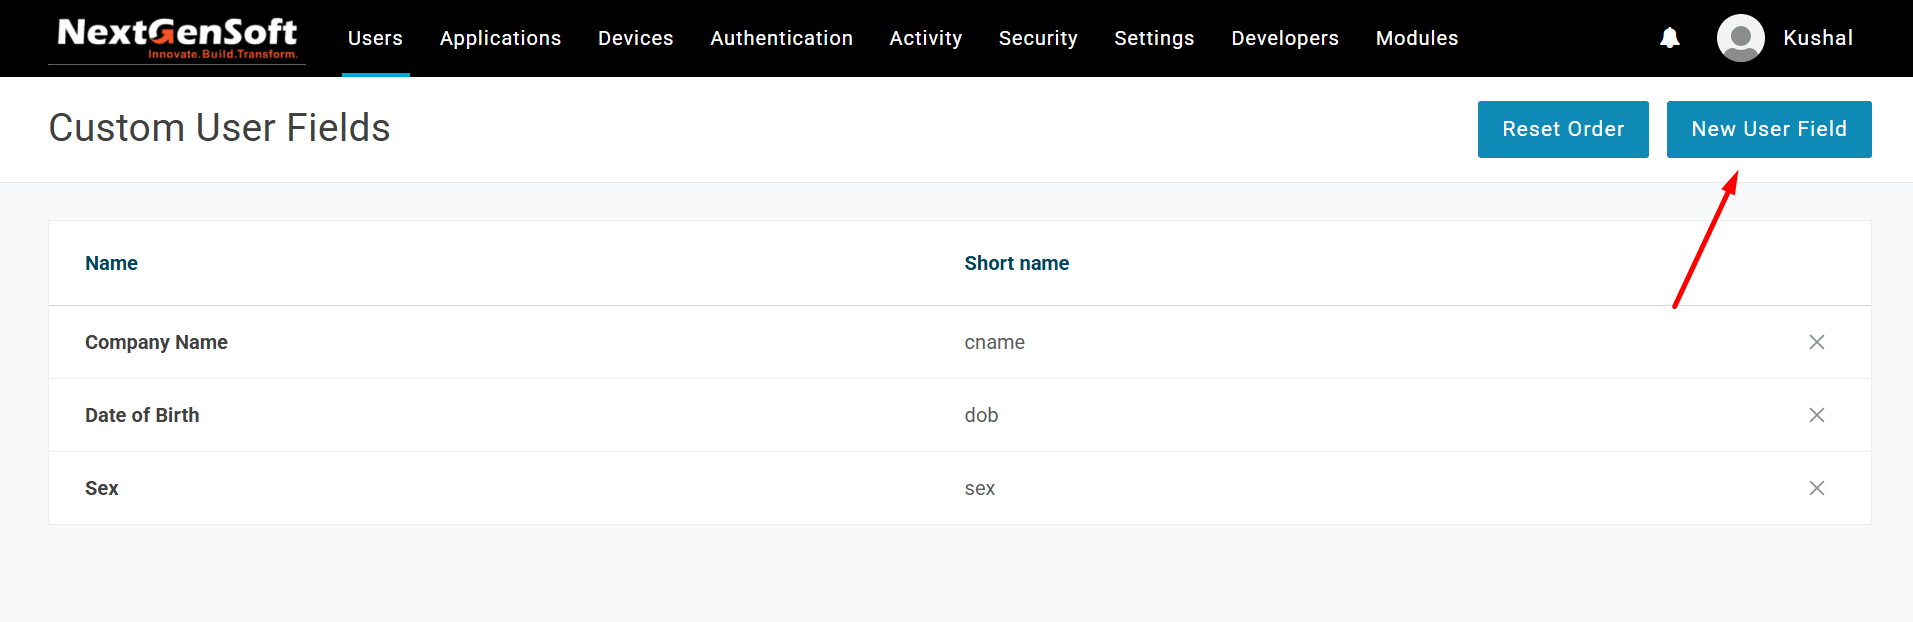
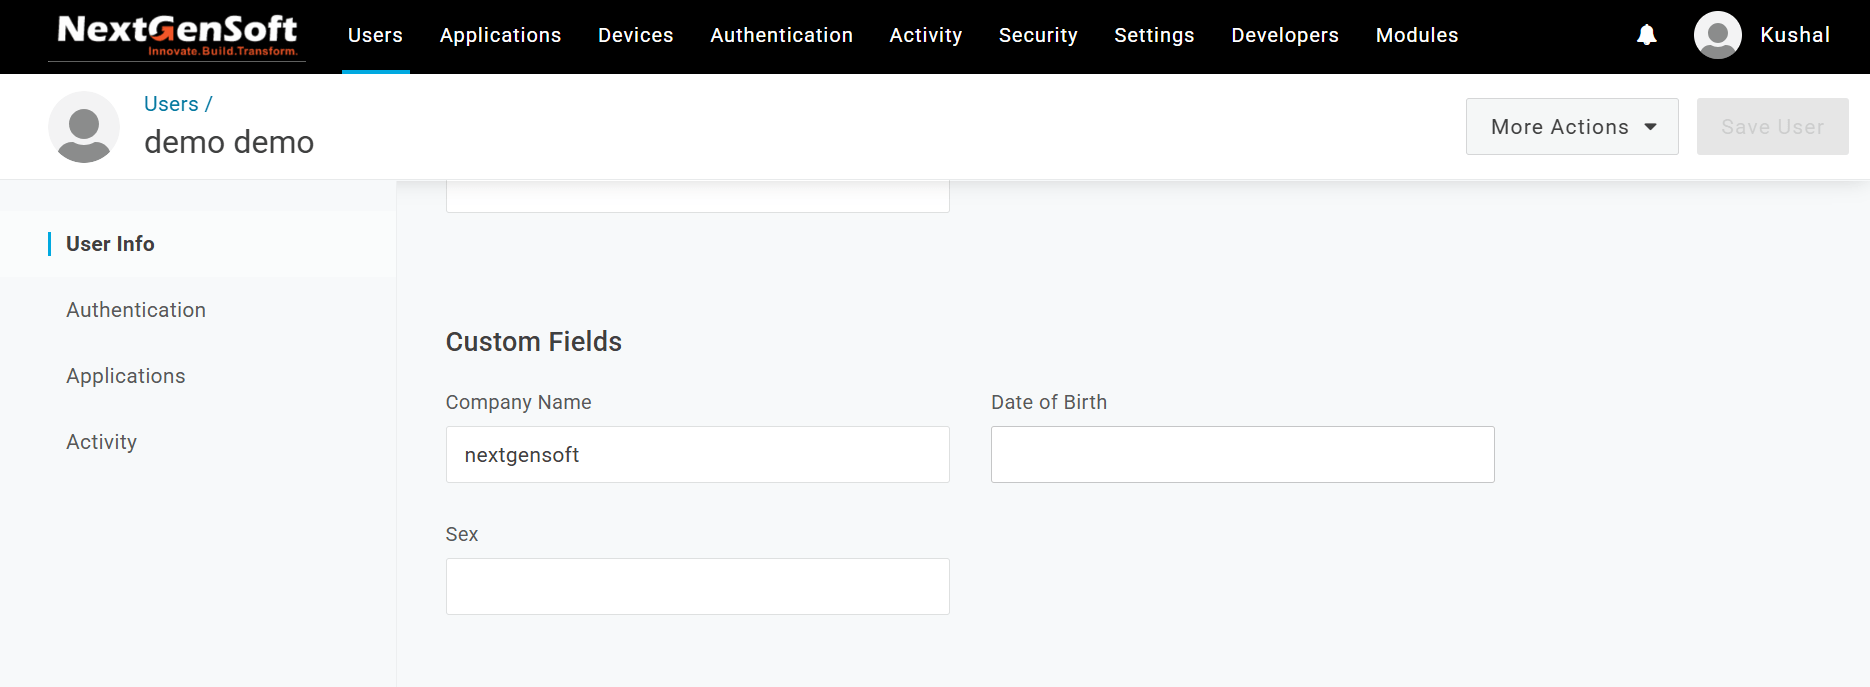
Navigate to Users → Custom User Fields if you want to create custom fields for your users.
You can enable or disable a user using the simple toggle button available on the user’s profile.
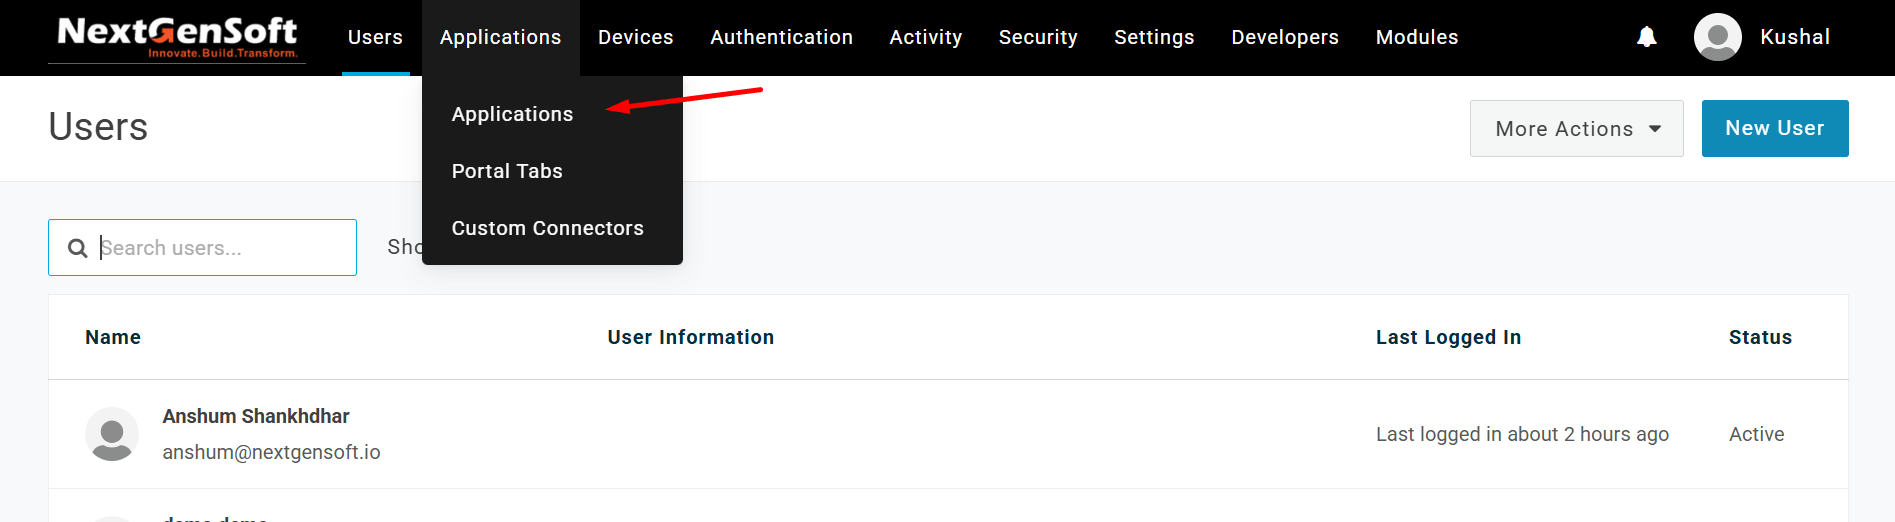
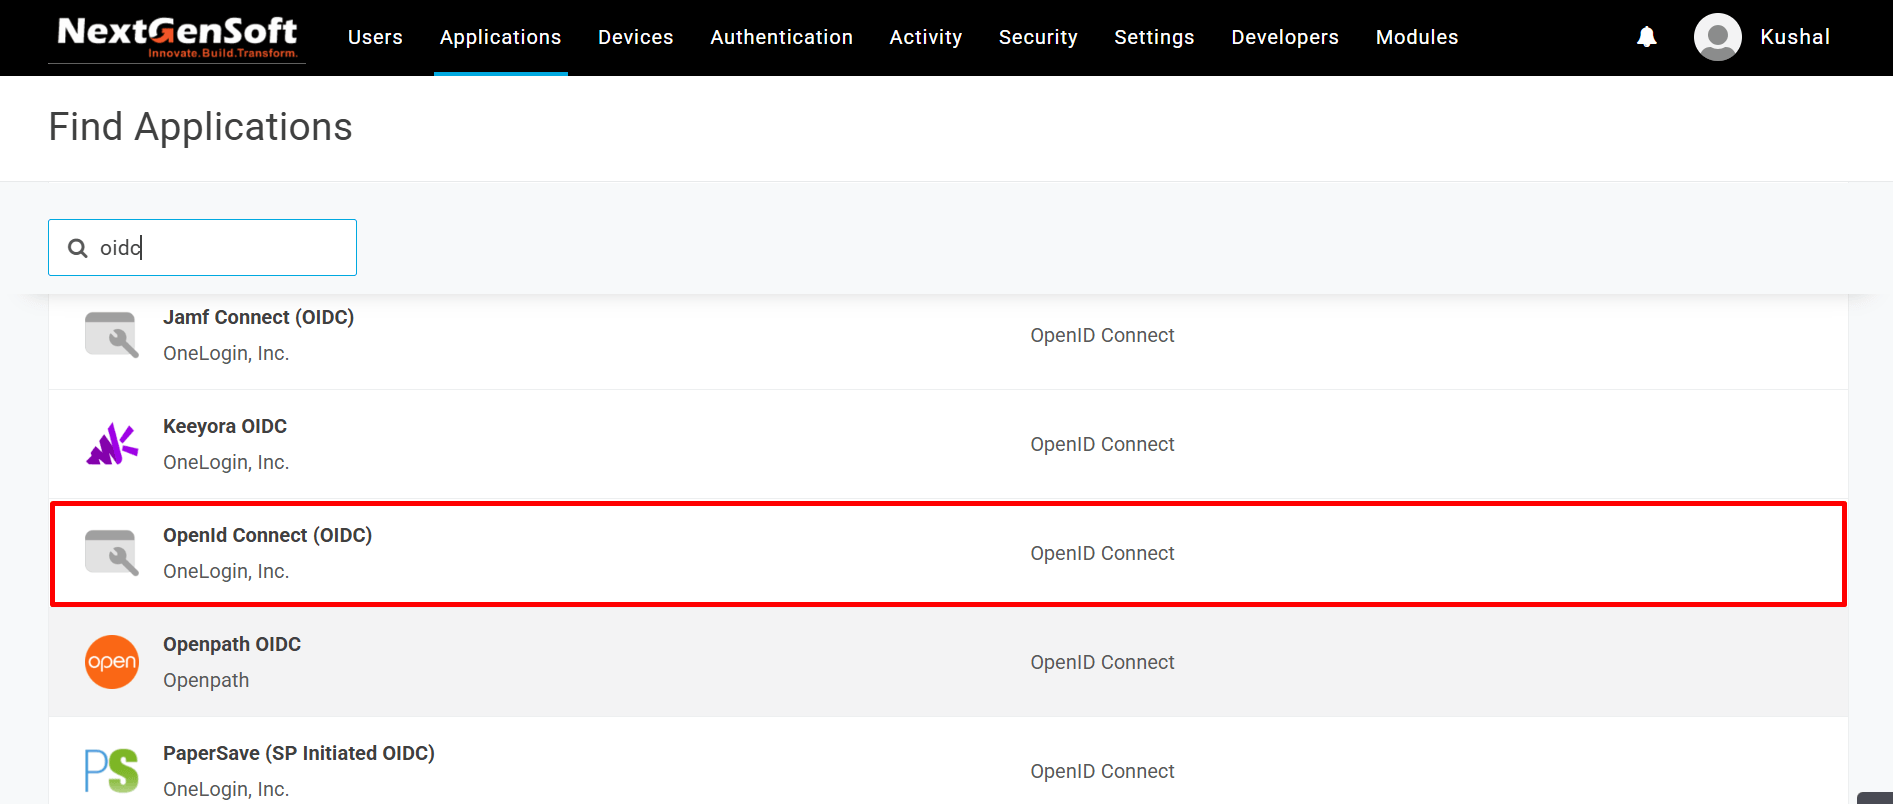
To implement OneLogin SSO integration React applications typically require, you need to create an OIDC application in the OneLogin dashboard.
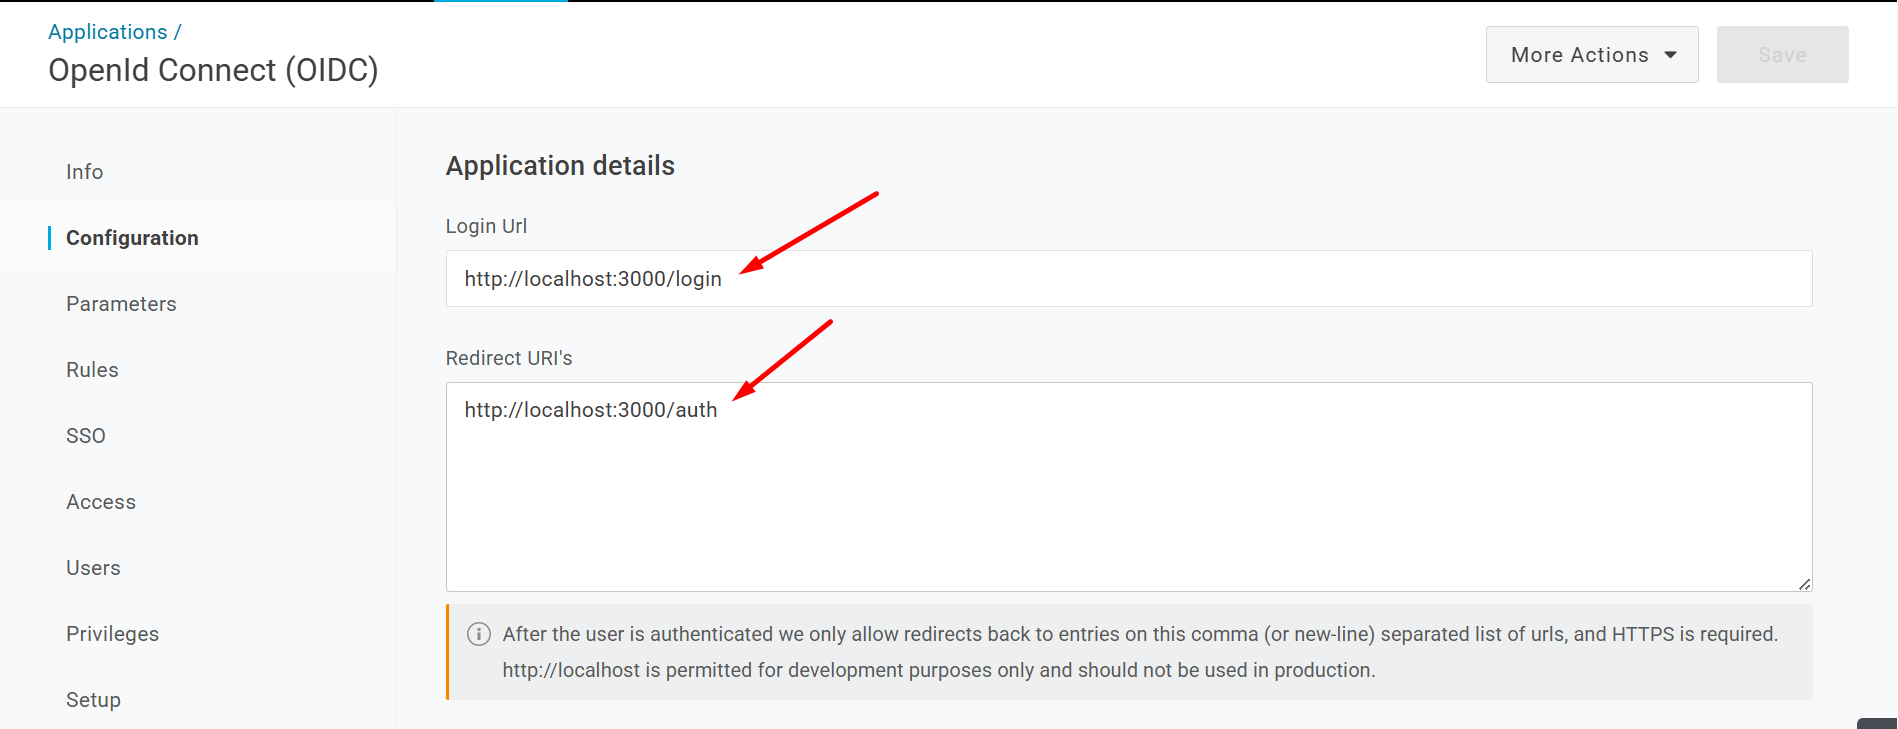
In the Configuration tab of your OIDC app, set the Login URL and Redirect URL according to your React app.
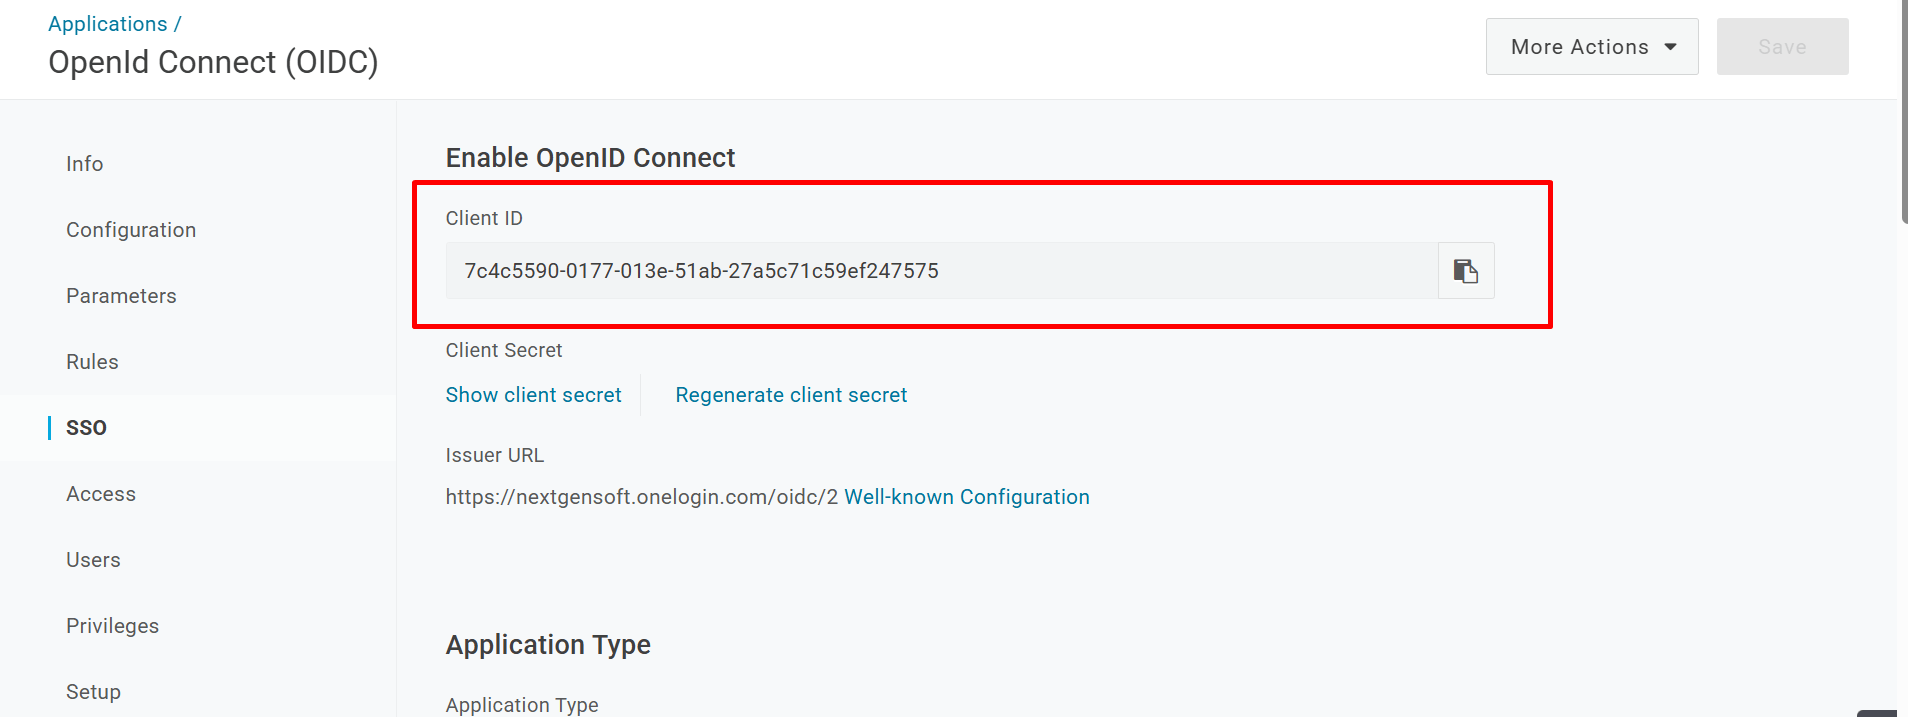
Go to the SSO tab inside the OIDC application to copy the Client ID for later use.
Visit the OneLogin React quickstart guide at developers.onelogin.com/quickstart/authentication/react to download the sample React app and follow setup instructions. This guide is extremely helpful when working on OneLogin SSO integration React projects.
oidcApi.jsSet your parameters in the React app’s oidcApi.js file:
These should match the settings you configured in the OIDC app to complete the OneLogin SSO integration React process.
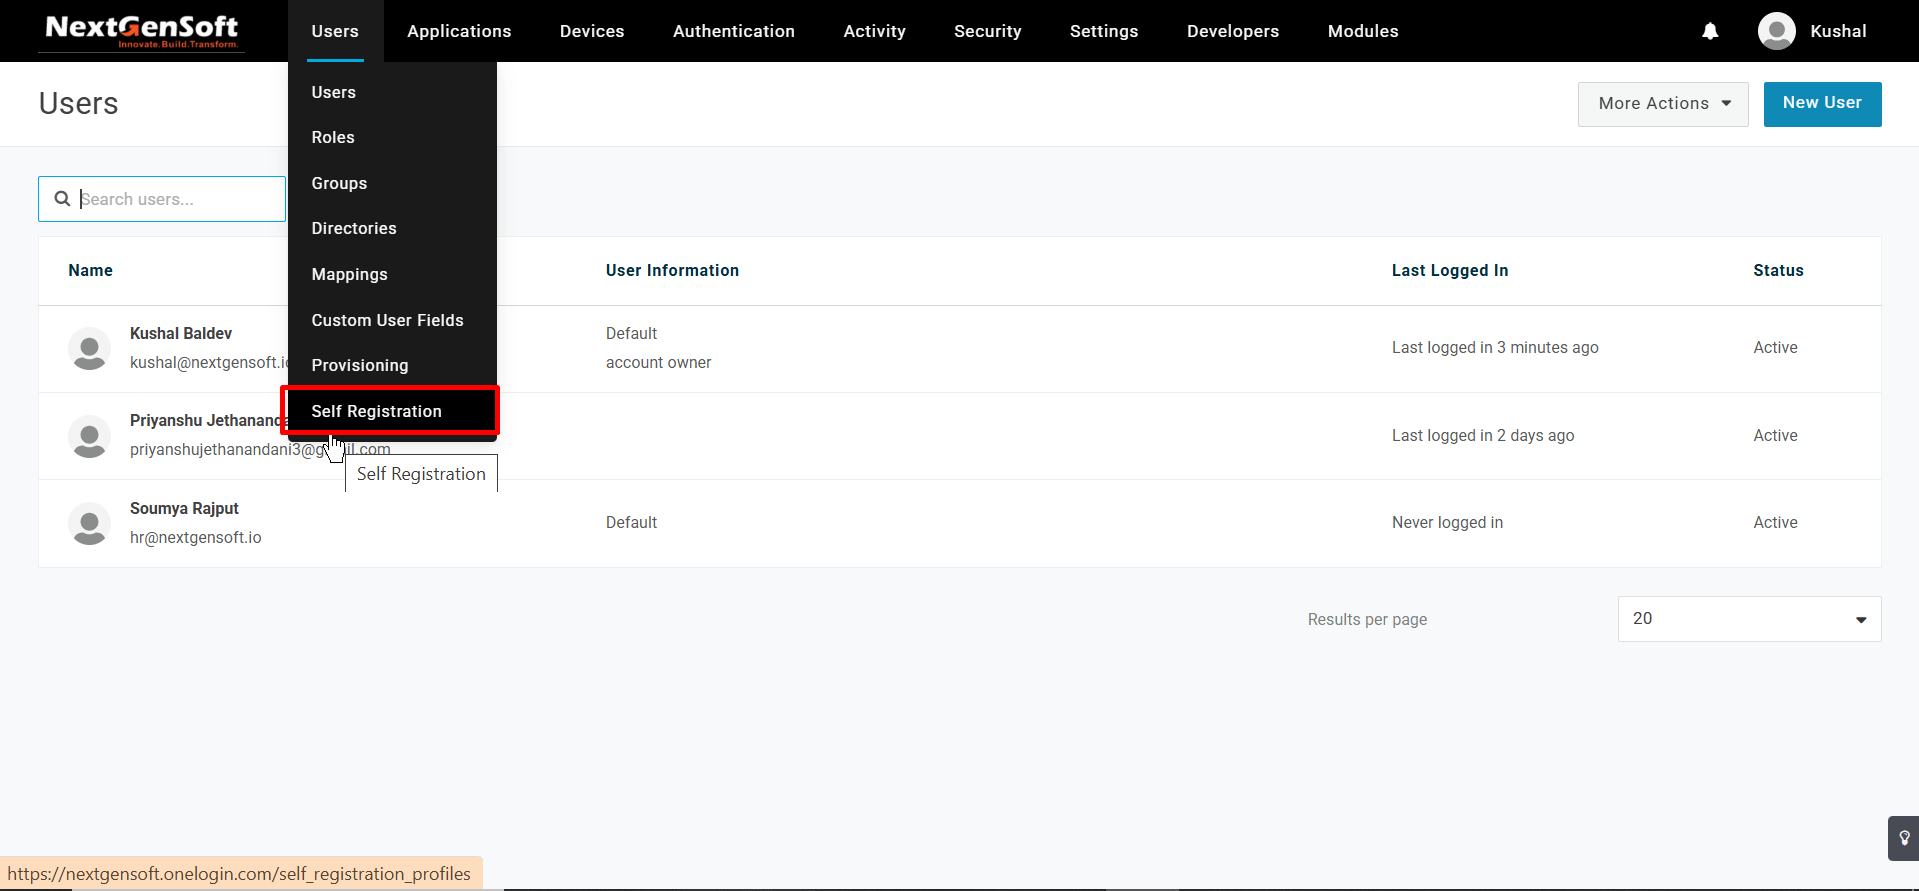
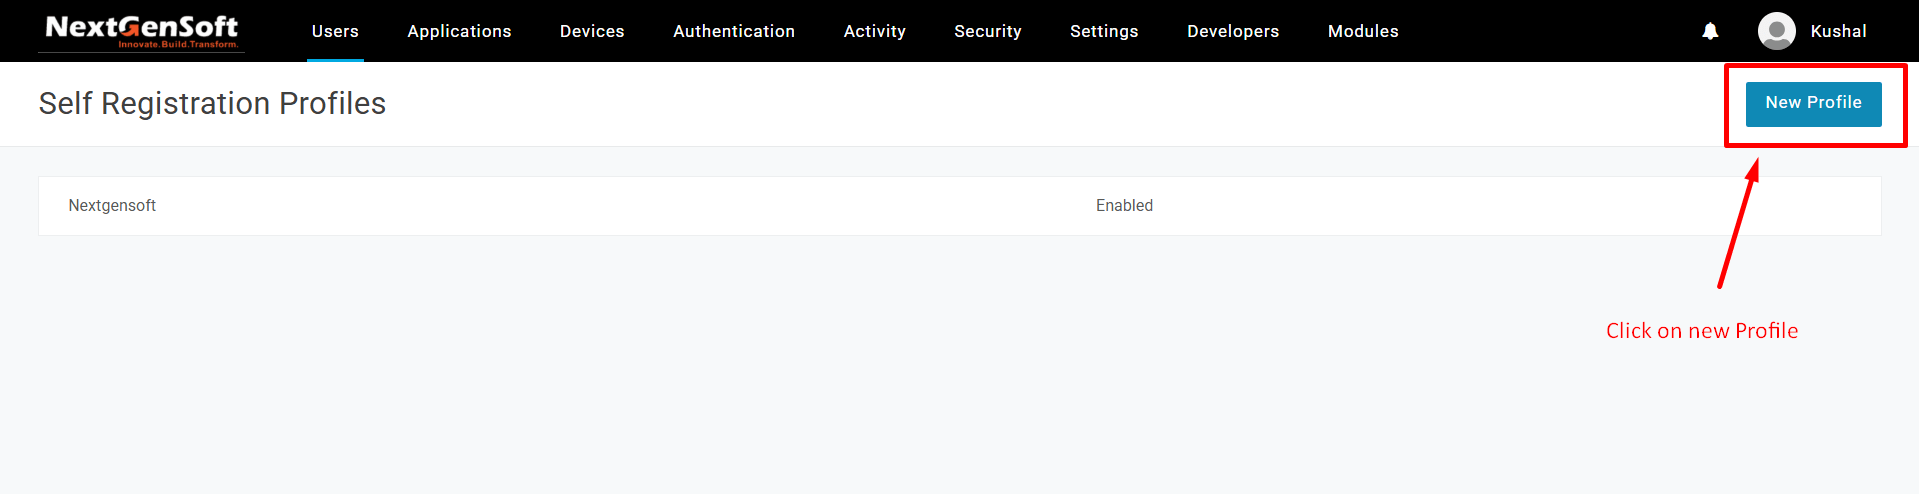
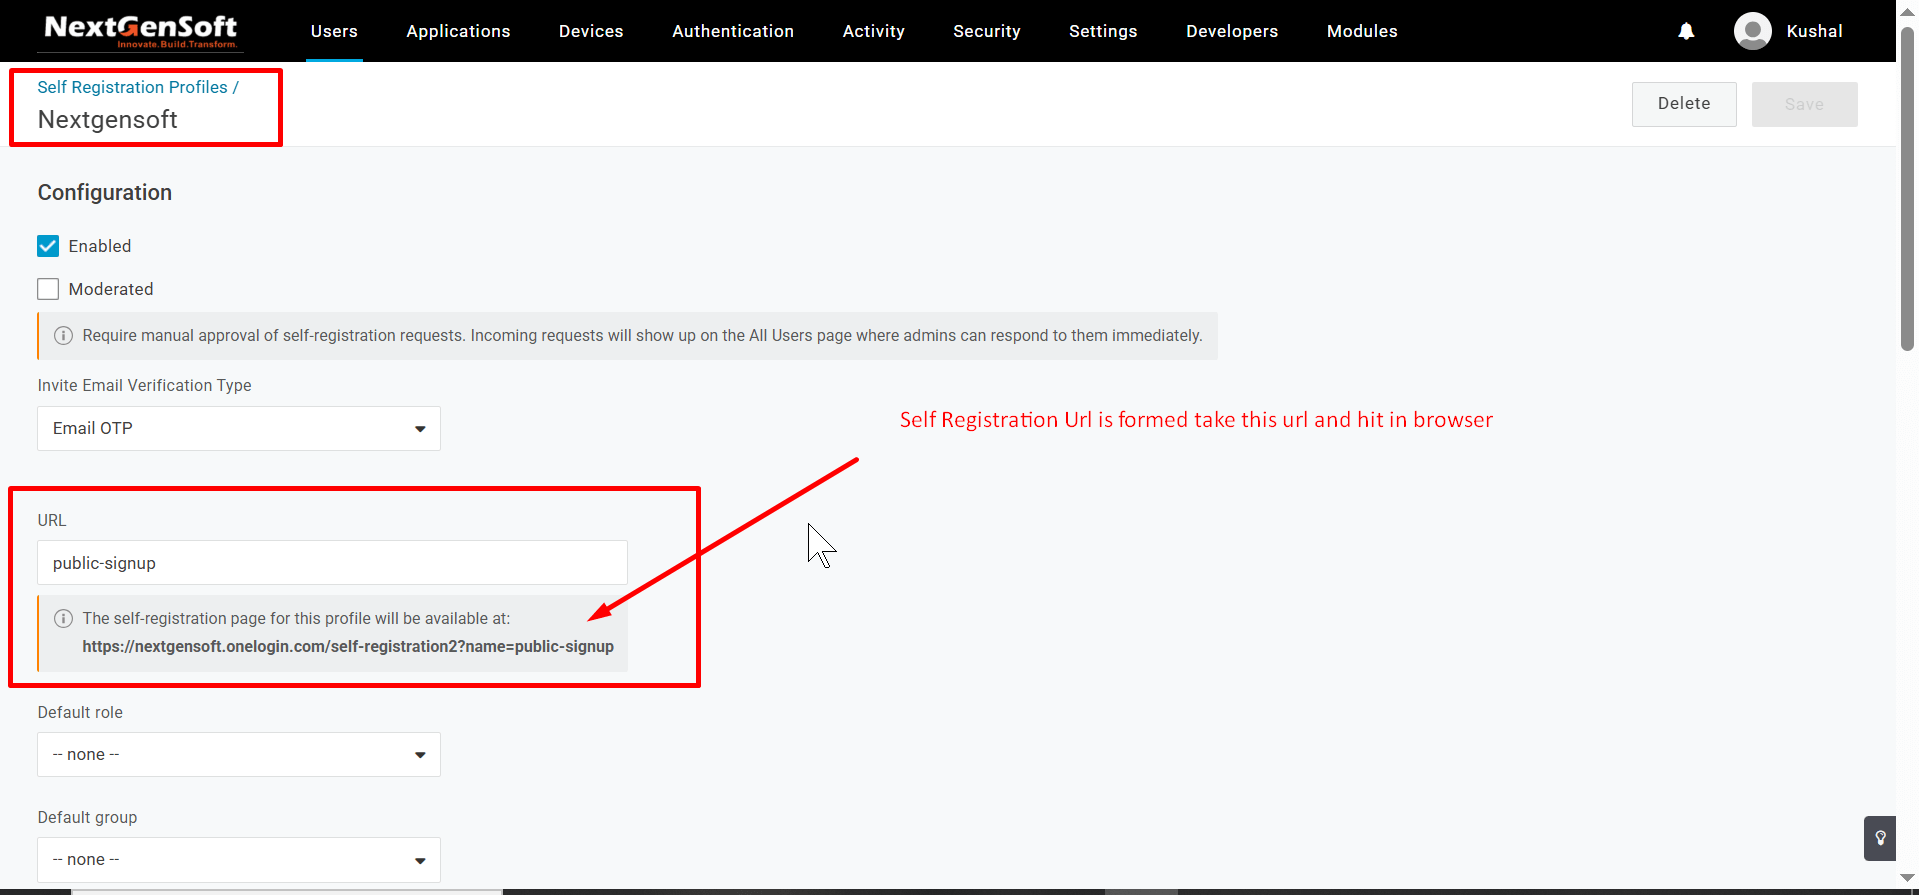
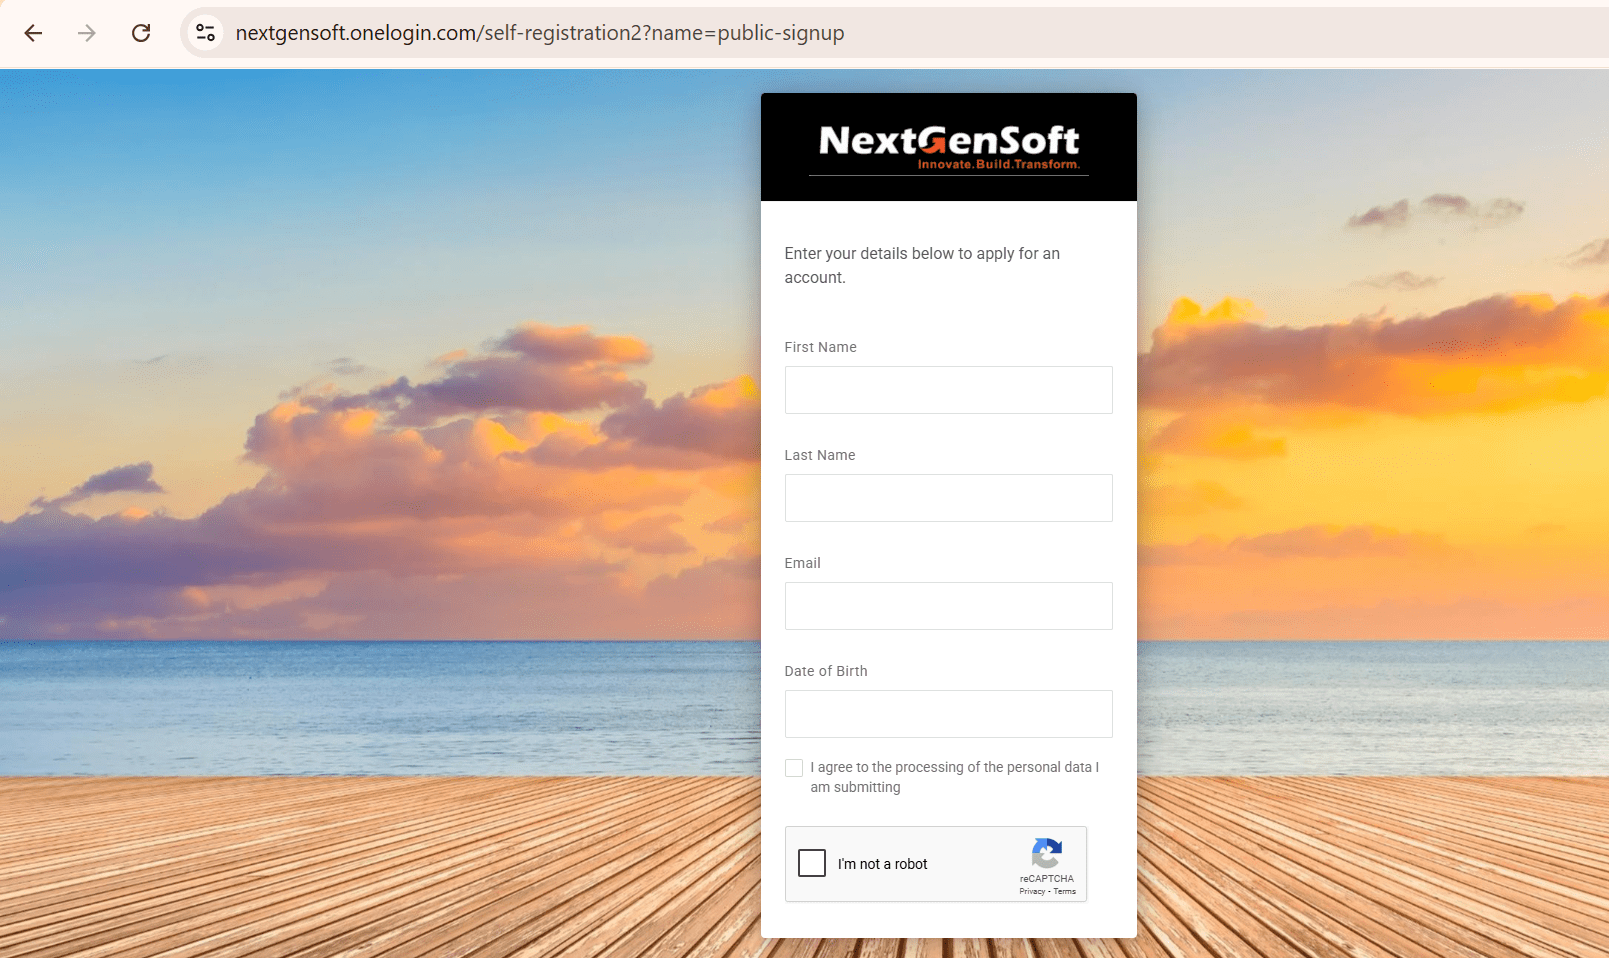
If you want new users to sign up using OneLogin, go to Users → Self Registration and create a new profile. You’ll need to add public-signup to the URL. Hitting this URL will open the registration form.
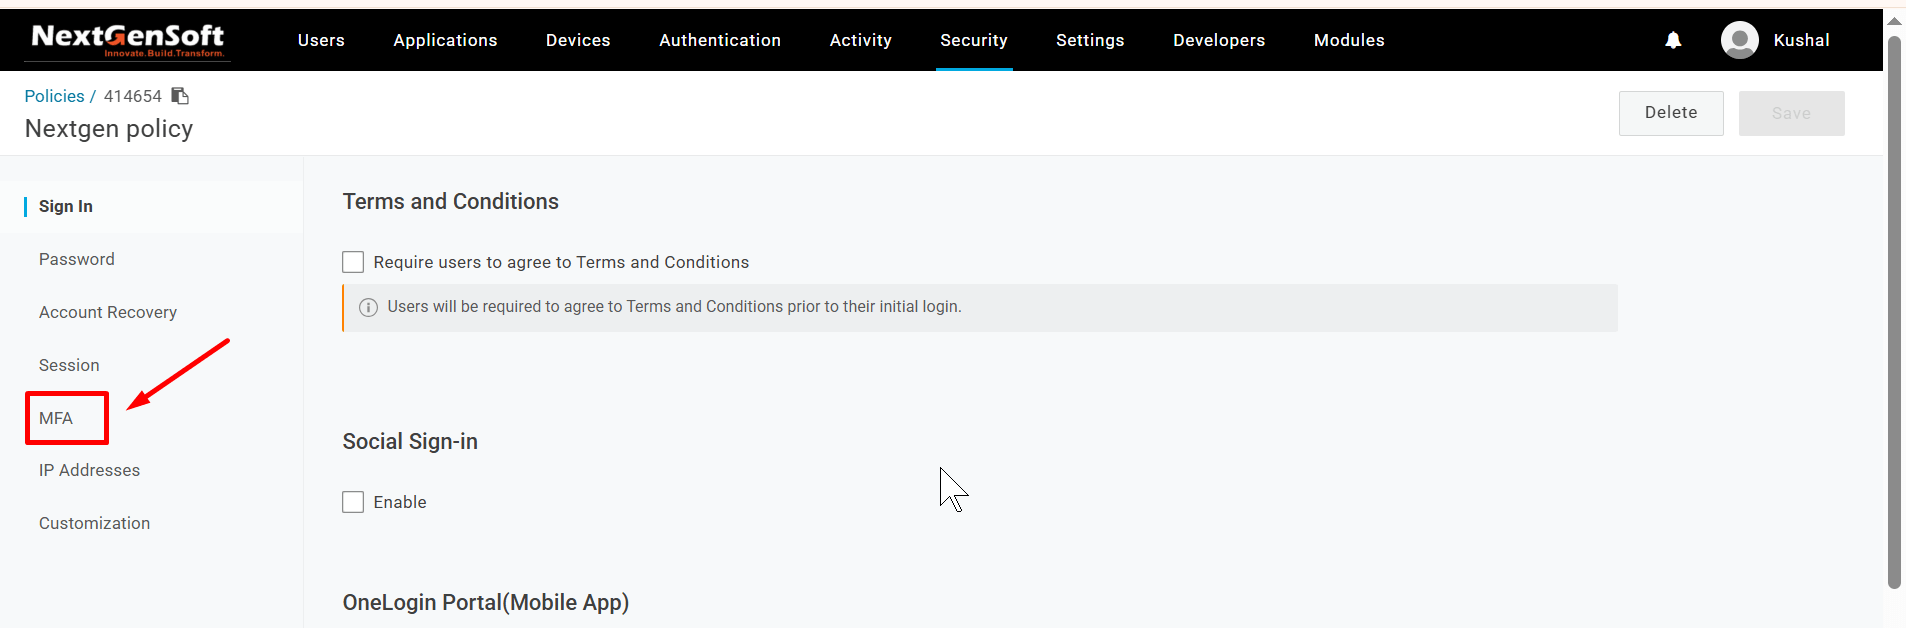
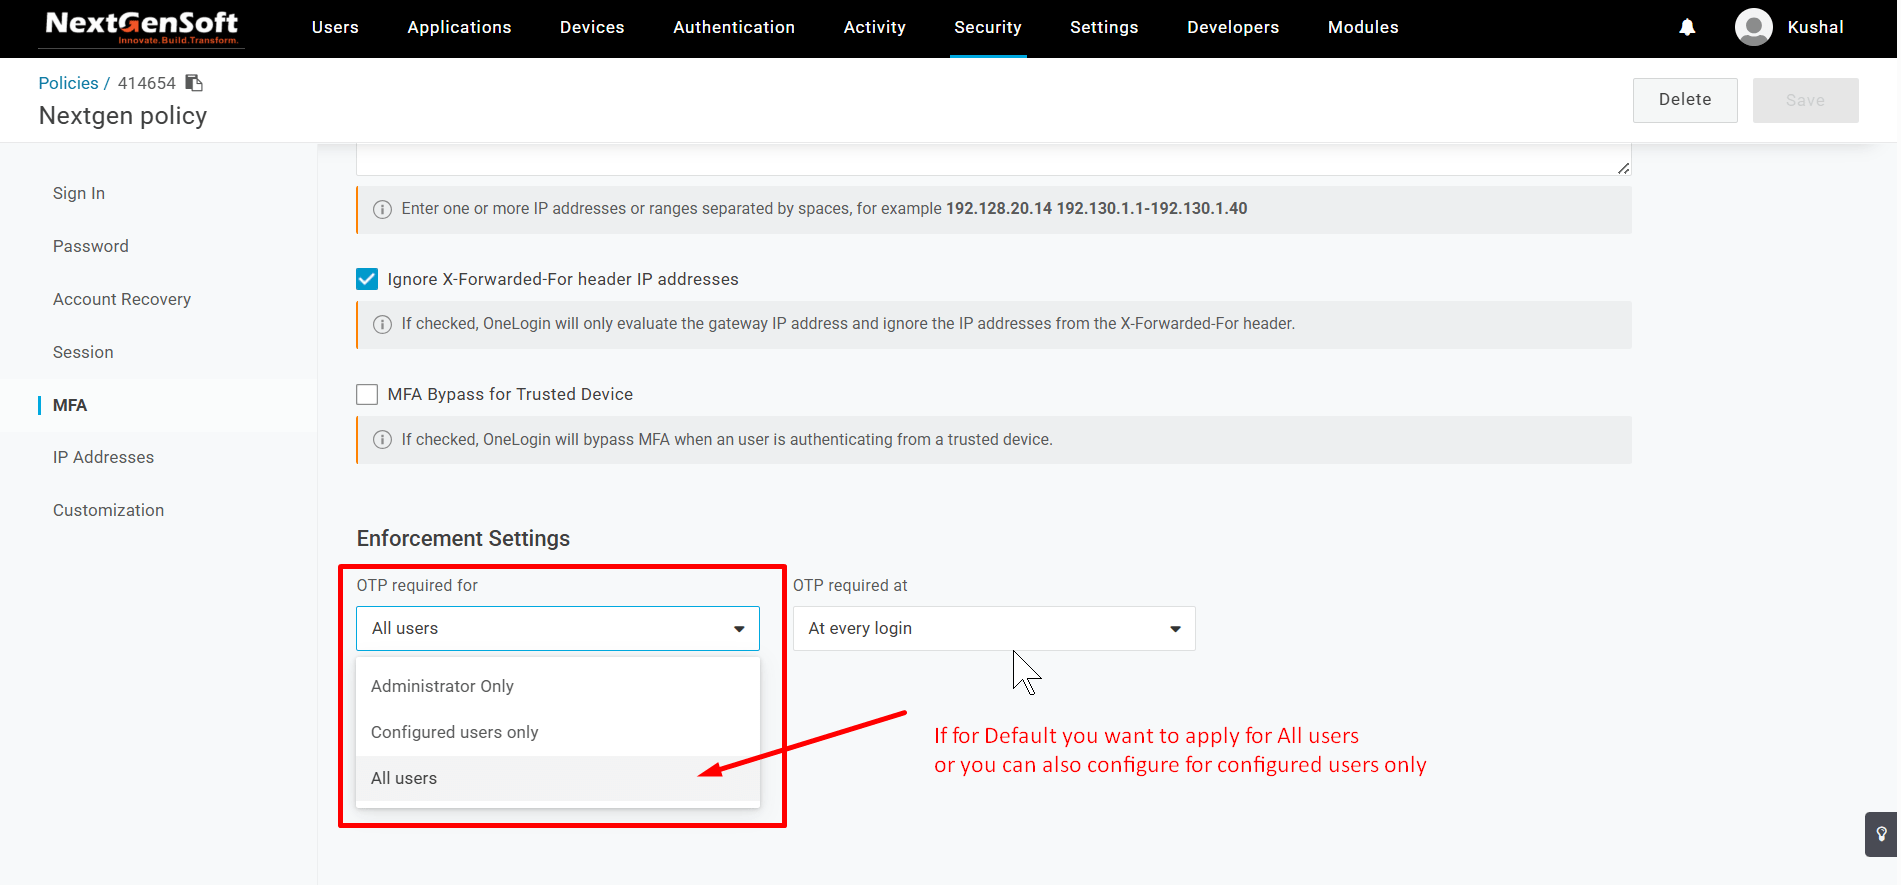
Go to Policies and create a new user policy. Under that policy, visit the MFA tab.

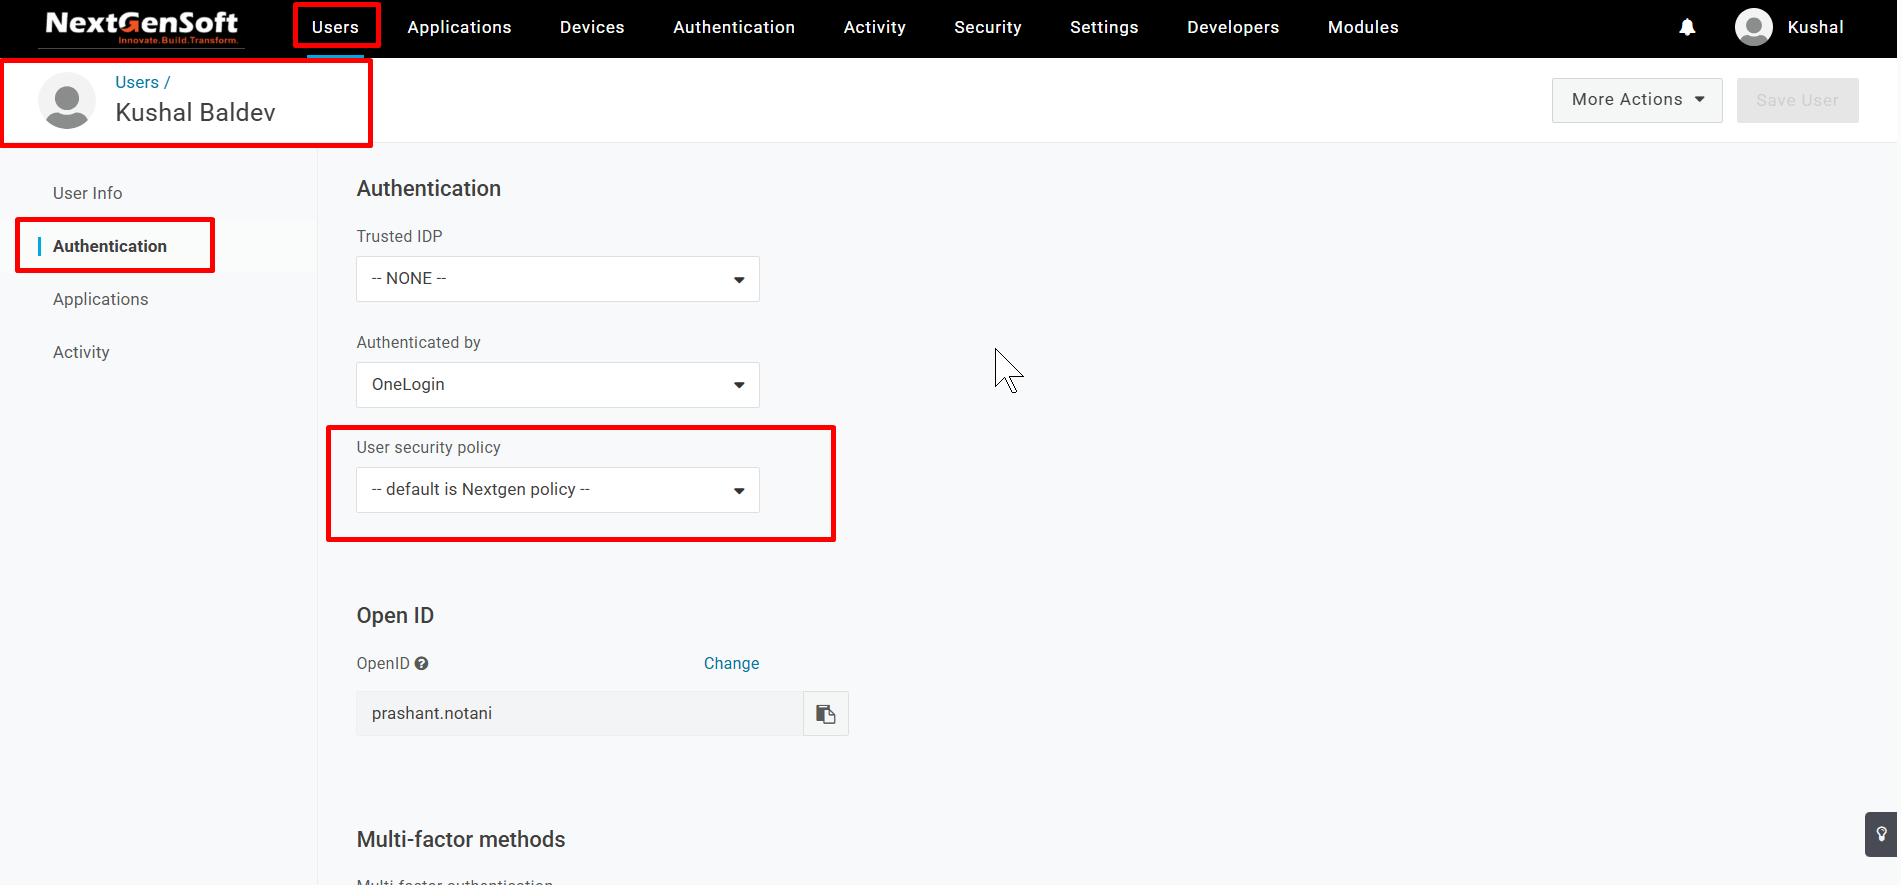
If you opted for specific users, go to Users → Authentication → User Security Policy and assign your new policy.


And That’s It!
You’ve now successfully completed the OneLogin SSO integration in your React application, enabling a seamless and secure login experience for users across platforms. This OneLogin SSO integration React approach is ideal for scalable, secure enterprise applications.
 Kushal Baldev
Kushal Baldev is currently serving as a Technical Lead at NextGenSoft, bringing over 8.5 years of experience in software development and technology leadership. With a strong background in designing scalable systems and leading high-performing teams, Kushal has played a pivotal role in delivering innovative solutions across various domains.At NextGenSoft, he leads cross-functional teams, mentors junior developers, and collaborates with stakeholders to drive digital transformation initiatives. His dedication to continuous learning and staying updated with emerging trends has made him a valuable asset in the tech community.
We’re ISO/IEC 27001:2022 certified, ensuring your projects are executed with globally recognized security standards.
INDIA