
Nexus Database Migration: From OrientDB to H2
Smit DaveJuly 22, 2025
Share this article


Let AI highlight what matters.
This document outlines the steps to migrate Nexus Repository Manager’s database from OrientDB to H2 using the Nexus DB Migrator Tool.
The migration is necessary when switching from the default OrientDB to H2, which is more suitable for certain setups.
To migrate to the H2 database in Nexus Repository, ensure you’re using version 3.70.0 or newer.
1. In the Nexus UI, navigate to:
Admin > System > Tasks, then select “admin – backup OrientDB database” from the list.

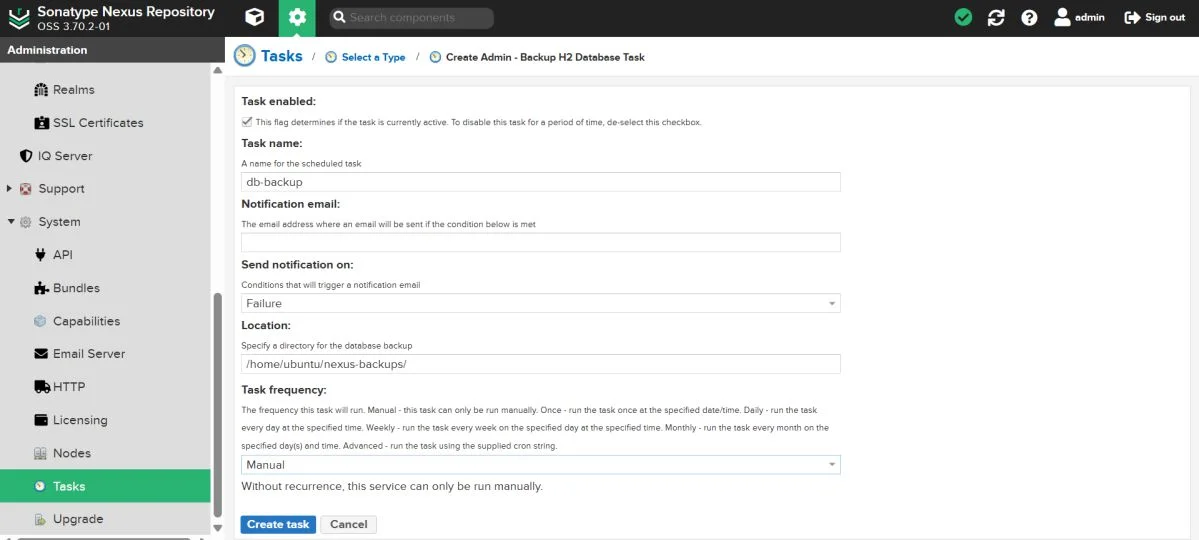
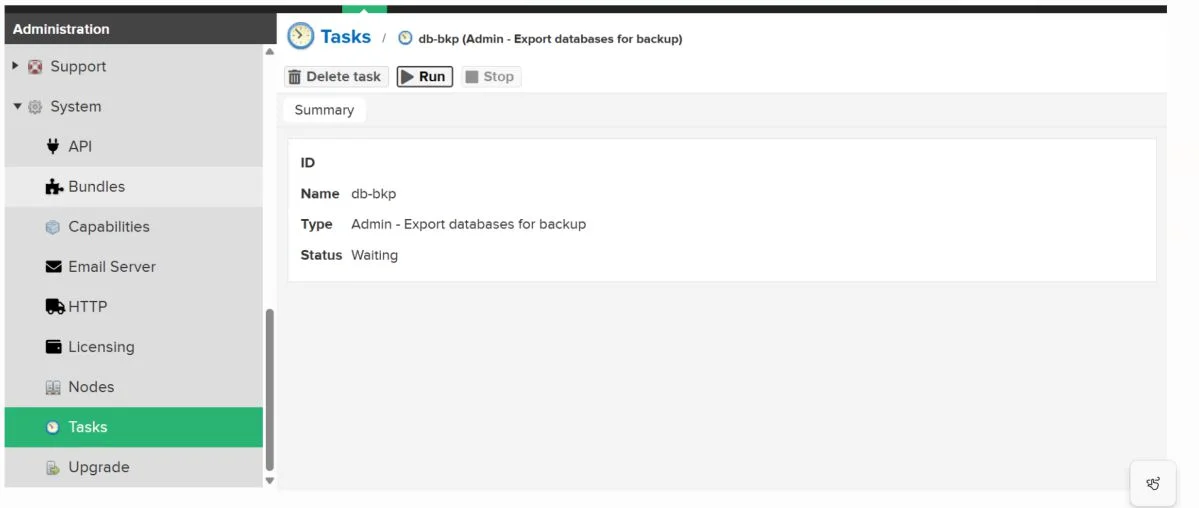
2. Run the Backup Task to create a backup (.bak) file.
3. Save the .bak file to a dedicated folder.
Download the Nexus DB Migrator Tool from the official link:
Nexus DB Migrator Tool Download
Move both the .bak file and the nexus-db-migrator-3.70.4-02.jar tool into a dedicated folder for migration.
The .bak file is created in the backup folder specified during the task creation.
Once you have prepared your .bak backup files and the Nexus Database Migrator tool, the next step is to run the Nexus Database Migrator to migrate from OrientDB to H2.
If your backup files and the migrator tool are located in the same folder (e.g., /home/ubuntu/nexus-backups/), you can run the following command directly from that directory:
java -Xmx8G -Xms8G -XX:+UseG1GC -XX:MaxDirectMemorySize=28672M -jar nexus-db-migrator-3.70.4-02.jar --migration_type=h2Ensure that the correct file permissions and ownership are set for the migration folder:
sudo chown -R nexus:nexus /path/to/migrator/folder
sudo chmod -R 755 /path/to/migrator/folder
This ensures that Nexus has proper access to the files.
Finally, start Nexus. If using Docker, the following command will suffice:
docker start nexusEnsure that Nexus is up and running after the migration is complete.
 Smit Dave
DevOps Specialist | Server Wrangler-in-Chief Building pipelines, breaking builds, and acting like I knew the root cause all along. Fluent in YAML, Bash, and duct tape fixes. If it’s not automated, monitored, and version-controlled—I don’t touch it.
We’re ISO/IEC 27001:2022 certified, ensuring your projects are executed with globally recognized security standards.
INDIA